SPC Vinyl Key Points for Installation
SPC (Stone Plastic Composite) vinyl flooring is a popular choice for both residential and commercial spaces due to its durability, water resistance, and ease of installation. Whether you’re a DIY enthusiast or a professional installer, understanding the key points for installing SPC vinyl flooring is essential for achieving a flawless finish. Here’s a comprehensive guide to help you through the process.
1. Preparation is Key
Before you begin the installation, proper preparation of the subfloor is crucial. Ensure the subfloor is clean, dry, and level. Remove any old flooring, debris, and ensure there are no protruding nails or screws.
- Clean: Vacuum and sweep the area to remove all dust and dirt.
- Dry: Ensure the subfloor is completely dry to prevent moisture issues.
- Level: Check for any uneven areas and use a leveling compound if necessary.
2. Acclimatize the Flooring
SPC vinyl planks need to acclimatize to the room’s temperature and humidity before installation. Lay the planks flat in the room where they will be installed and leave them for at least 48 hours. This helps prevent expansion or contraction after installation.
3. Gather Necessary Tools and Materials
Having the right tools and materials on hand makes the installation process smoother. You will need:
- Measuring tape
- Utility knife
- Straight edge or T-square
- Spacers
- Rubber mallet
- Pull bar
- Tape measure
4. Plan Your Layout
Planning the layout before starting the installation ensures a professional finish. Measure the room and calculate the number of planks needed. Consider the direction of the planks to enhance the room’s appearance and account for any unique architectural features.
- Expansion Gaps: Leave a small gap (typically 1/4 inch) around the perimeter to allow for expansion and contraction.
- Staggering: Stagger the end joints of the planks by at least 6 inches to create a more natural look and increase stability.
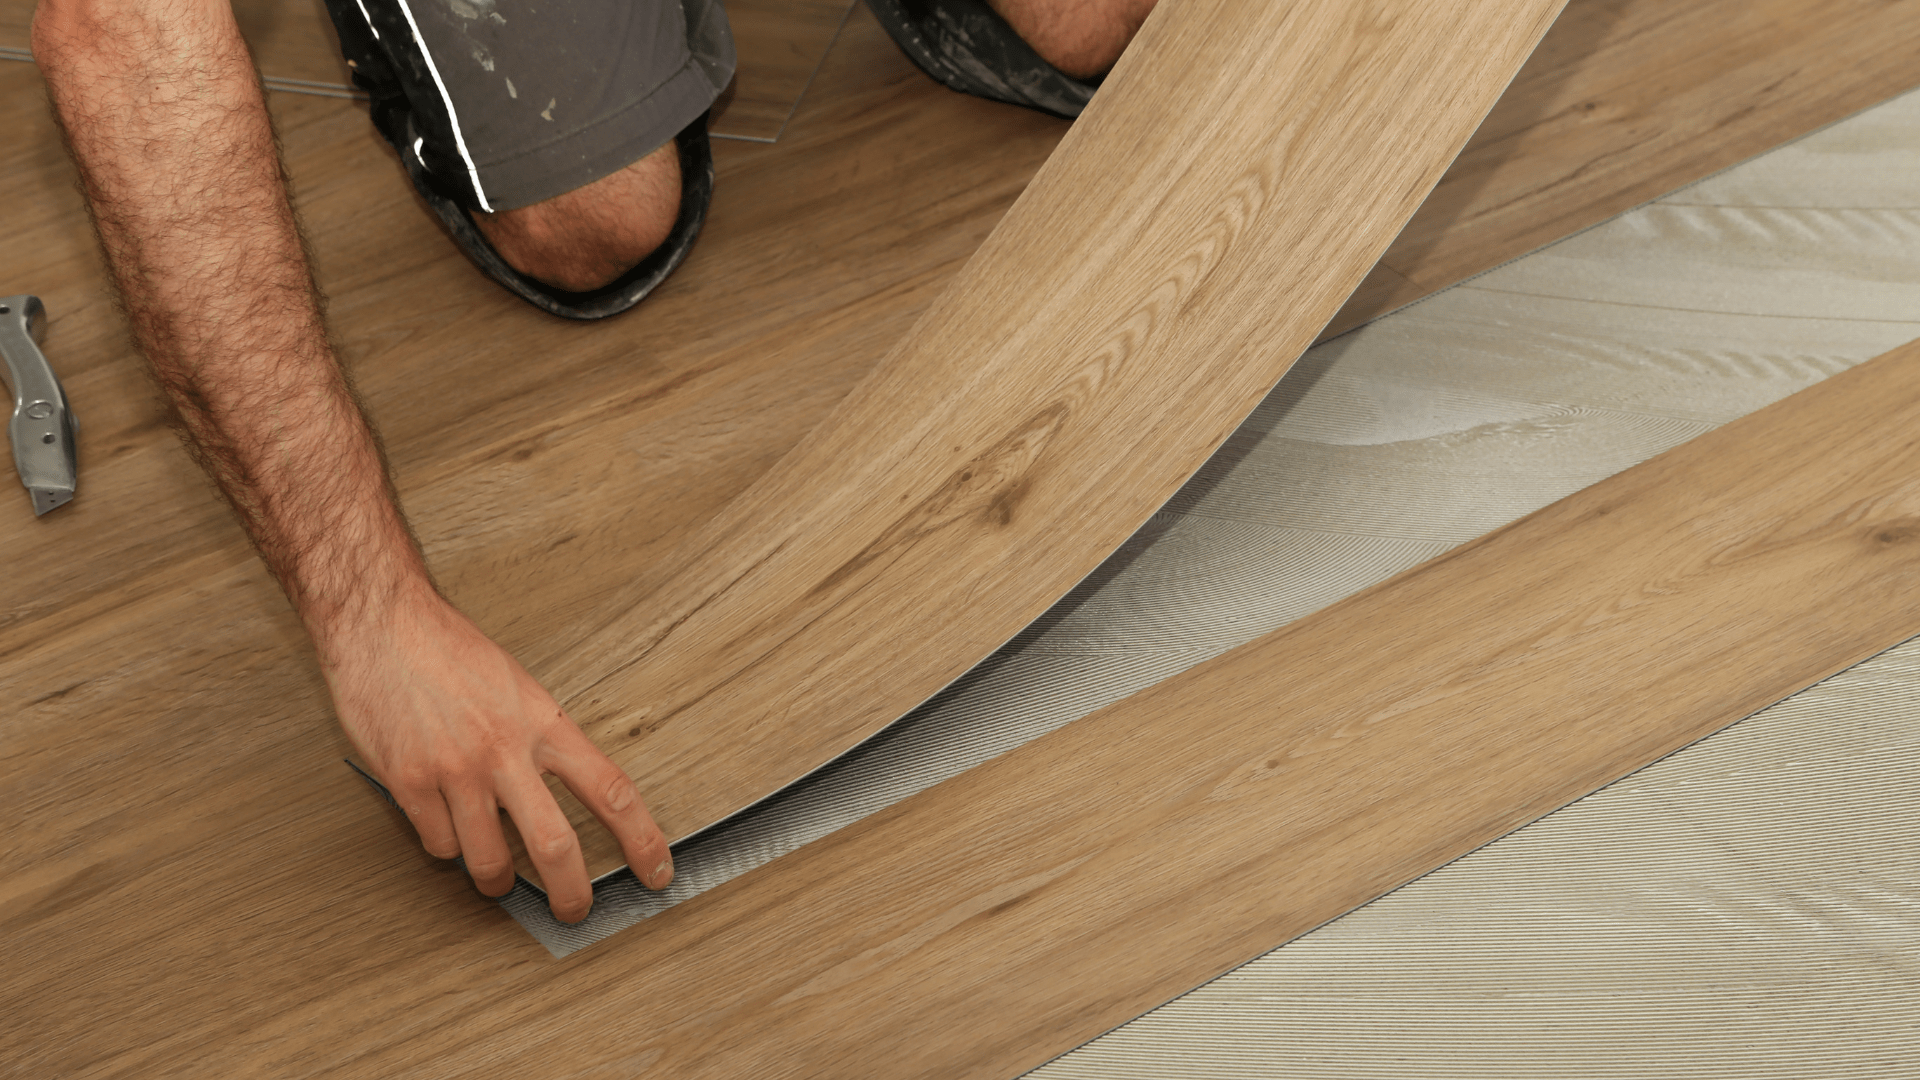
5. Begin Installation
Start laying the planks from one corner of the room, preferably along the longest wall. Use spacers to maintain the expansion gap between the planks and the wall.
- Click-Lock System: Most SPC vinyl planks come with a click-lock system that allows the planks to snap together easily. Insert the tongue of one plank into the groove of the previous plank at a slight angle and press down until it clicks into place.
- Cutting Planks: Use a utility knife and straight edge to score and snap the planks to fit around obstacles or at the end of rows.
6. Finish the Installation
Once all the planks are laid, remove the spacers and install the baseboards or moldings to cover the expansion gap. Inspect the floor for any gaps or uneven areas and adjust as needed.
7. Post-Installation Care
After installation, follow these tips to maintain the beauty and longevity of your SPC vinyl flooring:
- Regular Cleaning: Sweep or vacuum regularly to remove dirt and debris. Use a damp mop with a pH-neutral cleaner for deeper cleaning.
- Avoid Standing Water: Although SPC vinyl is water-resistant, avoid letting water sit on the floor for extended periods.
- Protective Pads: Place felt pads under furniture legs to prevent scratches.
Conclusion
Installing SPC vinyl flooring can be a straightforward and rewarding project when you follow these key points. With proper preparation, the right tools, and attention to detail, you can achieve a beautiful and durable floor that enhances your space for years to come.